|
|
|
Installation Tips
|
For additional information
see SFI’s recommendations
 |
|
|
|
 |
|
|
|
 |
|
|
|
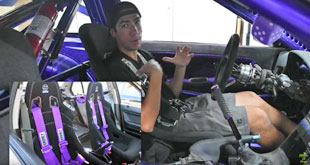
Click HERE to view "How to Install a 6 Point Racing Harness" video by OffBeat Garage. |
|
|
|
• Instructions for Driver Restraint Systems:
|
|
|
|
1. Lap belt must be anchored to the frame rail or roll cage as close to the hip as possible at an angle of 45 degrees, but no greater than 60 degrees to the ground.
2. 5-Point Anti-Submarine Belt should be anchored on or slightly behind the Chest Line.
6-Point Anti-Submarine Belt should be anchored at an angle of 20 degrees behind the Chest Line as measured from the intersection of the Chest Line and the lap belt buckle. Mounts should be approximately 8 to 12 inches apart (approximately located under each hip and as close to the body as possible).
MOUNTING BRACKETS
Mounting brackets should be installed at an angle that is compatible with the direction of pull on the webbing under full load. Preferred mount is in a double shear with allowance for the bolt-in bracket to pivot and align toward the direction of the load as shown in Figure 1.
|
|
|
|
“LOCKING” the 3-bar Slide Adjuster shown in Steps 1-4 is VERY IMPORTANT. The 3-Bar Slide Adjuster must be located as close as possible to the Bolt-in bracket or Roll Bar (In Wrap Around design).
|
|
 |
|
|
|
 |
|
|
 |
|
|
|
STEP 1: Insert strap through tightening buckle.
|
|
STEP 2: Pull strap to 8"-10" beyond buckle, fold edges and insert into mounting bracket.
|
|
STEP 3: Fold back strap and reinsert through buckle as shown.
|
|
STEP 4: Fold back strap again and insert through bottom portion of buckle.
|
|
|
|
FIGURE 1 AND FIGURE 2
All mounting brackets should be attached directly to the frame or chassis of the car and installed to limit the driver’s body travel both upward and forward. Do not weld around or near belts or belt hardware.
Minimum specification for bolts and washers to attach the seat belts, harnesses and anti-submarine belt hardware are Grade 8.
|
|
|
|
 |
|
|
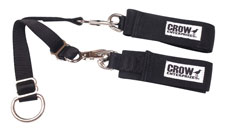
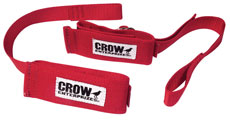
• Instructions for Arm Restraints: Part number 11572-11574
1.) Arm Restraints are to be worn on the biceps of the arms.
2.) Attach around bicep with D-rings and tighten until the fit is snug.
3.) Adjust length of tether so wrist will not go outside of the cage area.
4.) Arm Restraint with the SFI tag MUST be worn on the left bicep.
Arm Restraint with the warning tag MUST be worn on the right bicep.
5.) Make sure the arm restraint doesn't interfere with the steering wheel or any other equipment.
Arm restraints are sold without warranty expressed or implied or representations made as to this products ability to protect the user from any injury or death. The user assumes that risk.
|
|
|
|
 |
|
• Instructions for Arm Restraints: Part number 11572A-11574A
1.) Arm Restraints are to be worn on the biceps of the arms.
2.) Attach around bicep and adjust Velcrow so it is snug and you have a minimum of 21/2" overlap of Velcrow to Velcrow attaching the arm restraint.
3.) Adjust length of tether so wrist will not go outside of the cage area.
4.) Make sure the arm restraint doesn't interfere with the steering wheel or any other equipment.
Arm restraints are sold without warranty expressed or implied or representations made as to this products ability to protect the user from any injury or death. The user assumes that risk.
|
|
|
 |
|
|
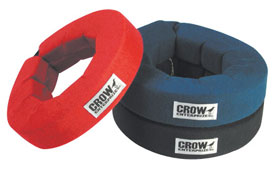
• Instructions for Neck Support: Part number 20162-20164
1.) Neck Support should be worn with the opening in the back.
2.) If you find the support is too thick in the front or back simply lift the Velcrow flap at the end, fold back the material from the foam and trim the foam. The foam may be trimmed with an electric knife. Cut approximately 1/8” at a time. If you spray silicone on the blades of the knife it will cut the foam easier.
Neck Support Collars are sold without warranty expressed or implied or representations made as to this products ability to protect the user from any injury or death. The user assumes that risk.
|
|
|
|
 |
|
|
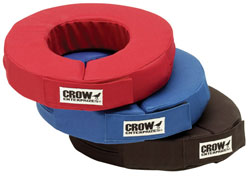
• Instructions for Neck Support: Part number 20162A-20164A
1.) Neck Support should be worn with the opening in the front.
2.) If you find the support is too thick in the front or back simply unzip the collar and trim the foam. The foam may be trimmed with an electric knife. Cut approximately 1/8” at a time. If you spray silicone on the blades of the knife it will cut the foam easier.
Neck Support Collars are sold without warranty expressed or implied or representations made as to this products ability to protect the user from any injury or death. The user assumes that risk.
|
|
|
|
 |
|
|
• Instructions for Wrist Restraints: Part number 11662-11667
1.) Wrist Restraints are to be worn on both wrists by the driver and all passengers in the vehicle.
These restraints are not for competition use.
2.) Attach around wrists and adjust velcrow so it is snug.
3.) Loop end of teather on seat belt link side, (left side of seat belt). Adjust length of teather so your wrists will not go outside of the cage area. Make sure the wrist restraint does not interfere with the steering wheel or any other equipment.
Wrists restraints are sold without warranty expressed or implied or representations made as to this products ability to protect the user from any injury or death. The user assumes that risk.
|
|
|
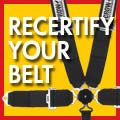
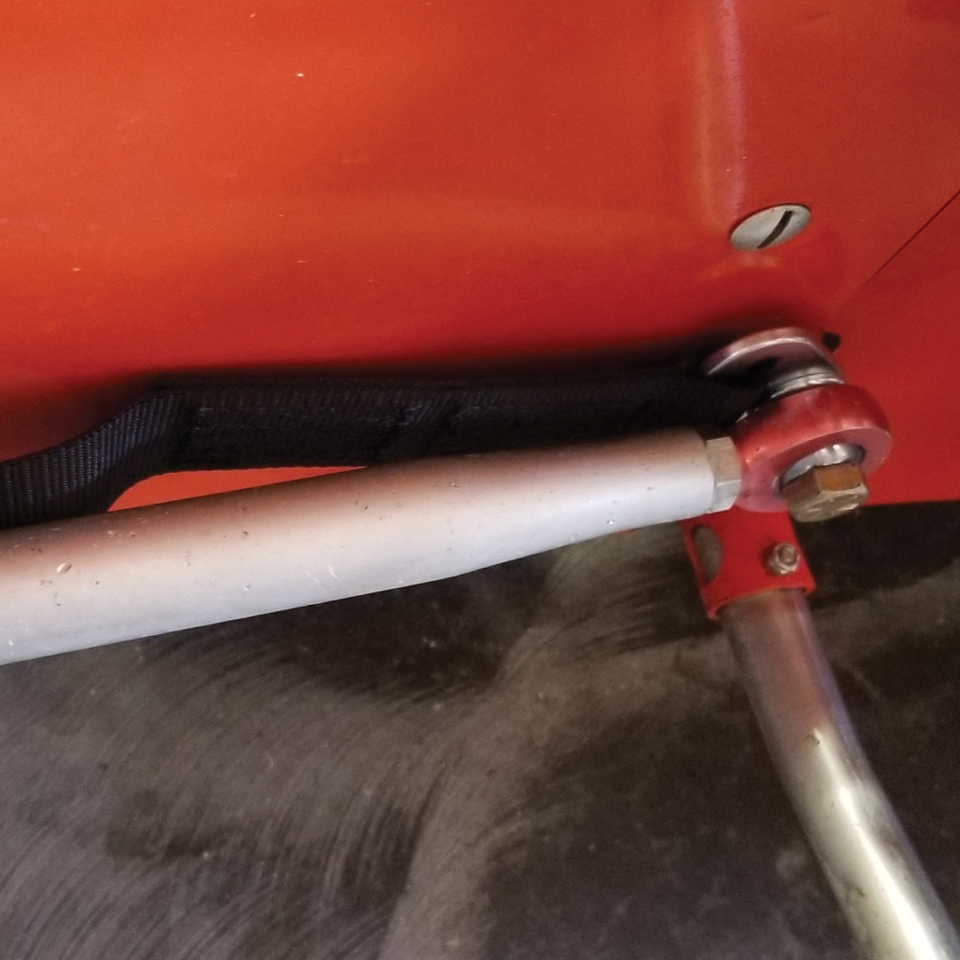
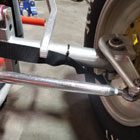
• Instructions for Sprint Car Tether: Part number SP-54 or SP-57
|
|
|
 |
 |
|
 |
 |
|
 |
 |
|
|
|
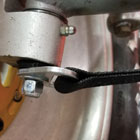
1.) Kingpin stud kit threads to the lower kingpin bolt.
|
|
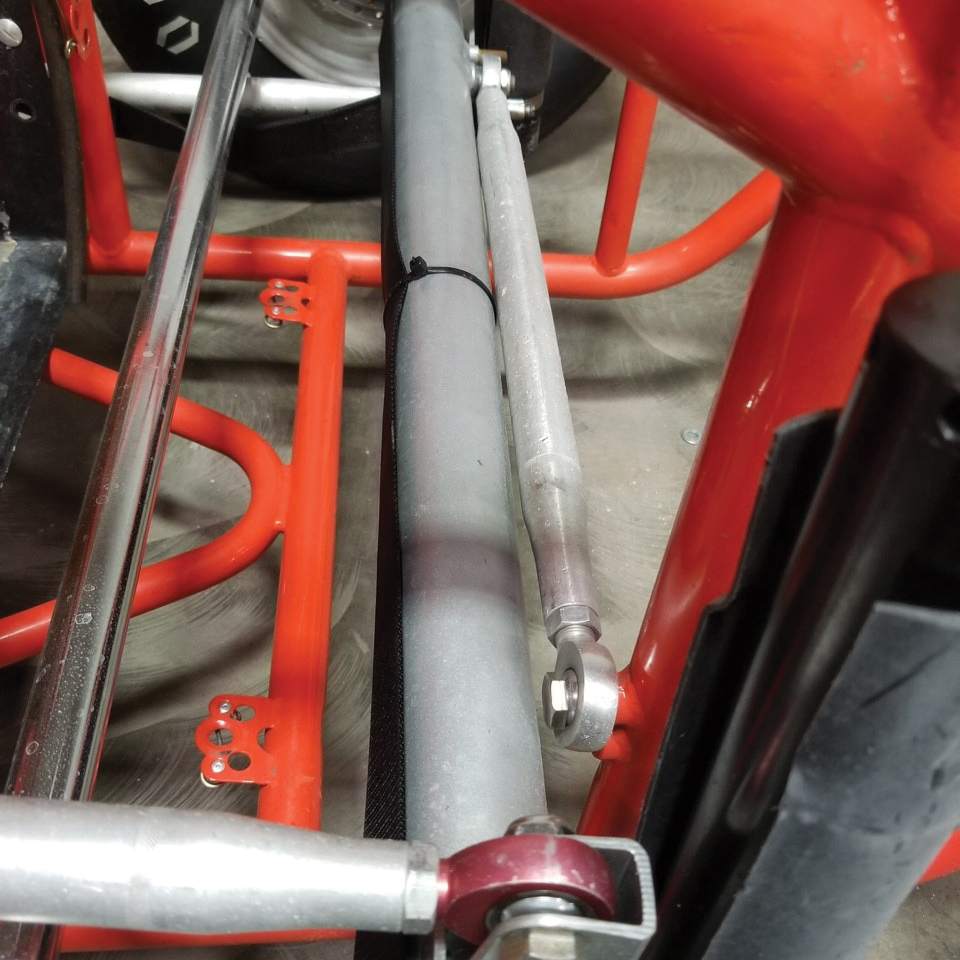
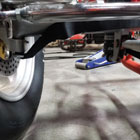
2.) Run tether on backside of axle, use zip-ties or electrical tape to fasten.
|
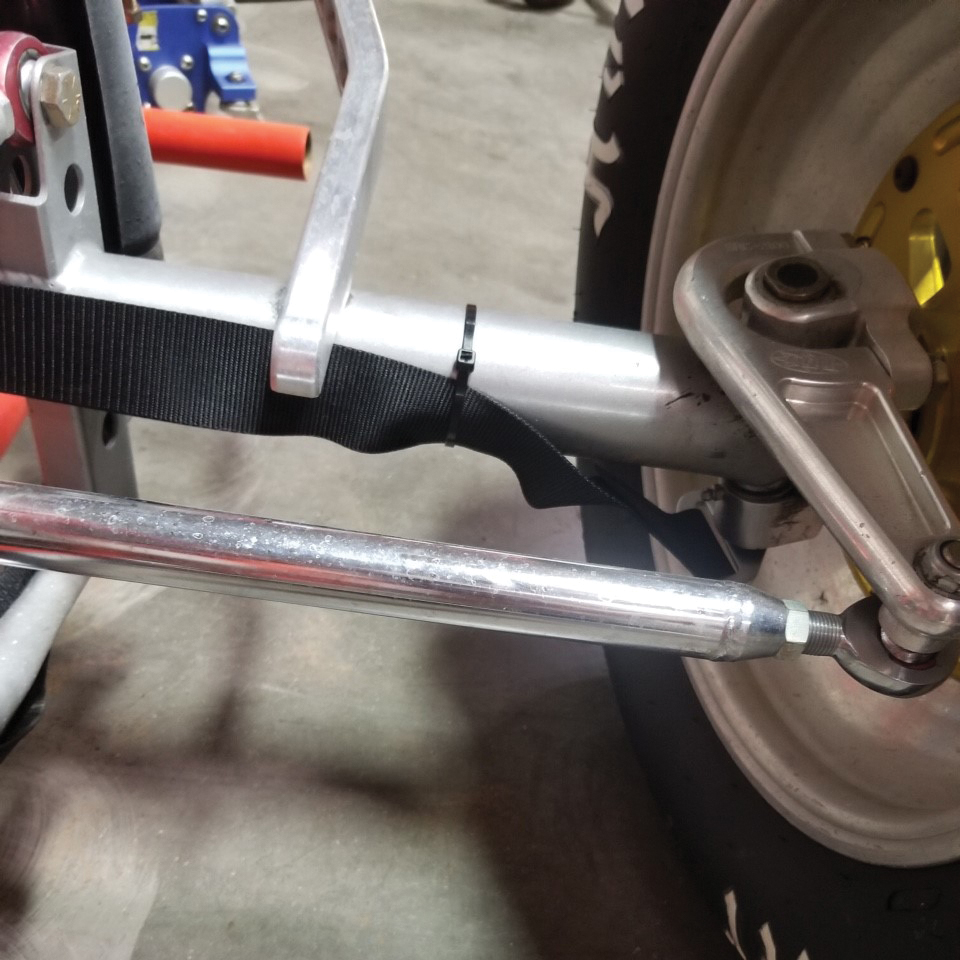
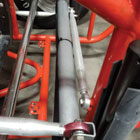
3.) Wrap tether around radius rod.
|
|
|
|
|
|
|
|
|
|
|
|
|
|
|
|
|
|
|
|
|
|
|
|
|
|
|
|
|
|
|
|
|